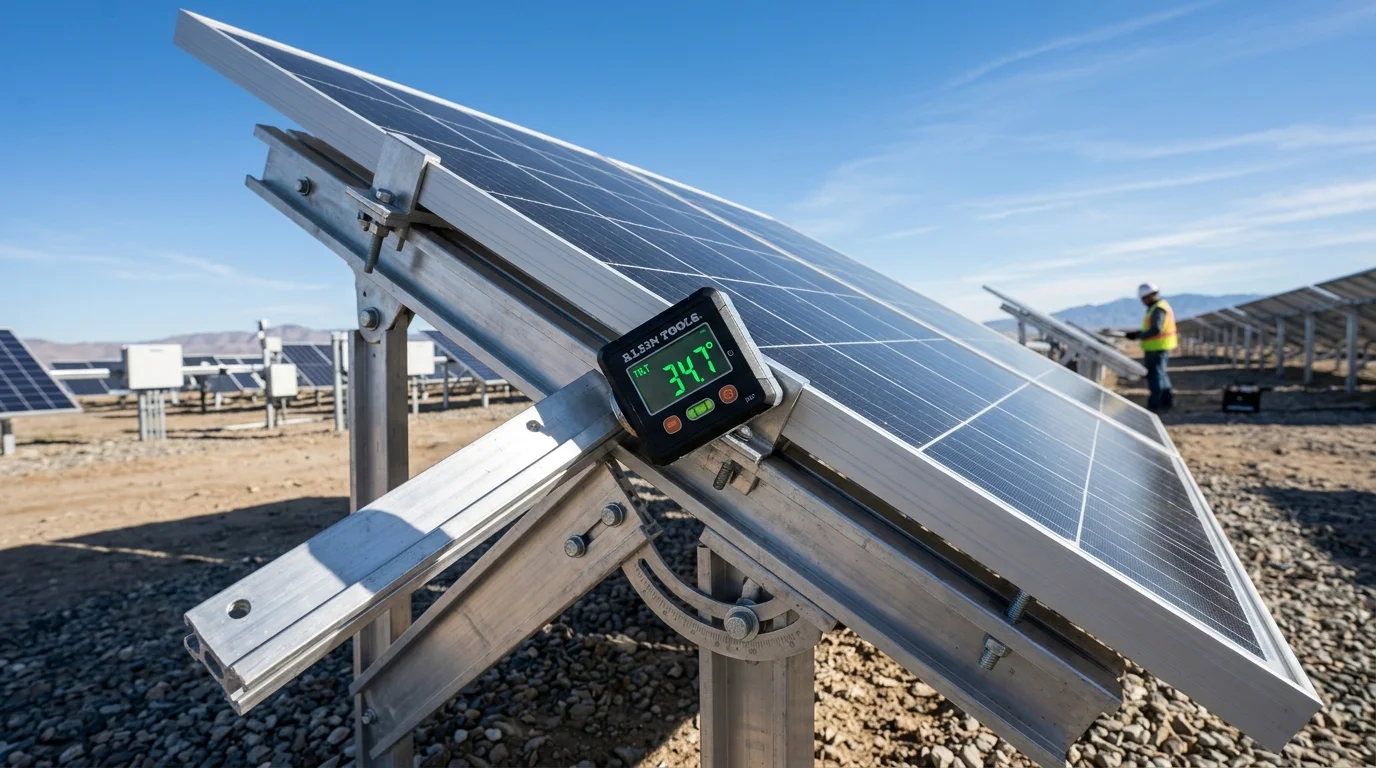
Installing high-efficiency solar panels is only half the battle. If your panels are mounted flat on a shed roof or tilted at the wrong angle facing magnetic south rather than true solar south, you could be losing between 10% and 25% of your total potential power generation every single day.
In the solar industry, this harvest drop is governed by cosine loss and azimuth tracking efficiency. Sunlight delivers maximum energy when photon paths strike photovoltaic cells at a precise, perpendicular 90-degree angle. Every degree your panels stray from perpendicularity reduces solar irradiance per square meter, diminishing power output before energy even reaches your MPPT charge controller.
For grid-tied residential homeowners with net metering, a fixed year-round tilt angle optimized for summer or spring may suffice. But for off-grid solar arrays, RV campers, and whole-home battery backup systems, optimizing tilt angle and seasonal orientation is often the difference between a fully charged battery bank and running a noisy gas generator all winter.
In this comprehensive engineering guide, we break down the geometric formulas, compass declination corrections, seasonal adjustment strategies, and mounting hardware required to unlock an extra 20% output from your solar investment.
In the Northern Hemisphere, always orient solar arrays toward True Geographic South, not Magnetic South (correcting for your local magnetic declination). For a fixed year-round mount, tilt your panels to an angle equal to your local latitude. If adjusting seasonally twice per year, set tilt to Latitude - 15° in Summer and Latitude + 15° in Winter to boost cold-weather energy capture by up to 25%.
The Physics of Solar Incidence and Cosine Loss
Why does panel angle matter so much? The answer lies in solar geometry and the Angle of Incidence (AOI).
When sunlight strikes a photovoltaic module at an angle relative to the surface normal (a perpendicular vector extending directly out from the panel surface), the effective irradiance reaching the silicon wafers is reduced:
Where:
- is the panel’s rated power under Standard Test Conditions (1,000 W/m² at 25°C).
- is the angle between the incoming sunbeam and the panel’s perpendicular normal vector.

Figure 1: The Angle of Incidence (AOI) directly dictates energy density. As AOI expands beyond 30 degrees, cosine losses compound rapidly.
How Cosine Losses Steal Your Wattage
If sunlight strikes a panel at an oblique 45-degree angle of incidence:
A nominal 400-Watt solar panel will generate an absolute theoretical maximum of only 283 Watts, even under crystal-clear blue skies! The remaining 117 Watts are lost purely because the solar energy footprint is spread across a wider physical surface area.
Furthermore, when the angle of incidence exceeds 50 to 60 degrees, Fresnel reflection losses kick in. The protective anti-reflective glass surface begins acting like a mirror, bouncing incoming photons away from the silicon semiconductor rather than absorbing them into the P-N junction.
Calculating Optimal Tilt Angle Across Latitudes
Your optimal tilt angle is primarily dictated by your geographic latitude (). Because Earth orbits the sun on a 23.45-degree axial tilt, the sun’s midday elevation changes dramatically between the summer solstice and the winter solstice.
       Summer Midday Sun (High Elevation: 70°+)
              \
               \       Spring / Fall Sun (Moderate Elevation: ~50°)
                \        /
                 \      /       Winter Midday Sun (Low Elevation: ~25°)
                  \    /       /
                   \  /       /
                    v v      v
             [  Solar Array Tilt  ]
Year-Round Fixed Tilt (Set-and-Forget)
If your panels are installed on a residential roof or a fixed ground mount array where climbing up to adjust brackets is impractical or hazardous, use the standard fixed-tilt formula:
For locations between 25° and 50° latitude, empirical research from the National Renewable Energy Laboratory (NREL) refines this slightly to maximize annual cumulative kilowatt-hours:
For example, in Denver, Colorado (latitude 39.7°N):
Two-Season Tilt Adjustments (Spring & Fall Tweaks)
For off-grid cabins, ground mounts, and RV setups where you can easily reach tilt mounting arms twice a year, a two-season adjustment schedule captures roughly 8% to 12% more annual energy than a fixed mount:
-
Summer Setting (April 1 to September 30): (Flatter angle captures the high midday sun when days are longest)
-
Winter Setting (October 1 to March 31): (Steeper angle aligns with low winter horizon and sheds snow automatically)
Four-Season Precision Schedule (Quarterly Optimization)
For maximum solar harvesting without motorized mechanical solar trackers, adjusting your mounting brackets four times per year yields approximately 15% to 18% higher production:
| Season | Date Range | Tilt Formula | Example at 40°N (Denver/Columbus) | Target Solar Condition |
|---|---|---|---|---|
| Winter | Nov 1 – Feb 14 | 55° Tilt | Maximizes low sun, sheds heavy snow | |
| Spring | Feb 15 – Apr 30 | 40° Tilt | Equinox balance, rising daily elevation | |
| Summer | May 1 – Aug 15 | 25° Tilt | High zenith harvest, extended daylight | |
| Autumn | Aug 16 – Oct 31 | 40° Tilt | Equinox balance, falling daily elevation |
Solar Azimuth: True South vs. Magnetic South
One of the most frequent installation errors committed by DIY solar builders is pointing panels using an uncorrected magnetic compass or smartphone compass app.
A standard magnetic needle points to the Earth’s Magnetic North Pole (currently drifting near northern Canada), not the True Geographic North Pole (the rotational axis of the globe). The angular discrepancy between True North and Magnetic North is called Magnetic Declination.
How to Find True Solar South
Failing to correct for declination can orient your array 15 degrees off-axis. While the panels will still produce power, peak output will occur an hour before or after solar noon, misaligning peak solar generation with your inverter’s maximum power window.
To achieve 100% precision:
- Look Up Your Local Declination: Visit NOAA’s National Centers for Environmental Information (NCEI) Magnetic Declination calculator and input your zip code.
- The Solar Noon Shadow Stick Method (Zero Equipment Needed): Find the exact minute of Solar Noon for your coordinates using an online ephemeris or solar calculator (note: solar noon rarely matches 12:00 PM standard clock time due to time zones and Daylight Saving Time). Place a vertical stick or pole plumb into the ground on a sunny day. At the exact minute of solar noon, the stick’s shadow points directly toward True North in the Northern Hemisphere. The opposite direction along that shadow line is your exact True South azimuth.
East vs. West Orientations: Time-of-Use (TOU) Economics
While True South delivers the highest raw daily kilowatt-hour total, there are specific architectural and economic reasons to tilt solar panels toward the East or West:
Generates rapid morning power starting at 7:00 AM. Excellent for early morning household breakfast routines, coffee makers, water well pumps, and bringing depleted off-grid battery banks out of their overnight discharge cycle hours before south-facing panels wake up.
Crucial under utility Time-of-Use (TOU) billing schemes such as California NEM 3.0. Grid electricity rates frequently jump to $0.45 to $0.65/kWh between 4:00 PM and 9:00 PM. A west-facing string continues producing heavy wattage late into the afternoon, powering air conditioning without draining batteries or drawing costly grid power.
Performance Comparison: Flat vs. Optimal Tilt vs. Tracking
To understand the real-world value of optimizing your array geometry, review this benchmark comparison for a standard 4kW solar array located in the Central United States (38°N Latitude):
| Mounting Topology | Summer Daily Avg | Winter Daily Avg | Annual Harvest | Yield Advantage |
|---|---|---|---|---|
| Flat Mount (0° Tilt, Roof/RV) | 20.8 kWh | 6.4 kWh | 5,120 kWh | Baseline (0%) |
| Fixed Tilt (38° True South) | 22.4 kWh | 10.2 kWh | 5,980 kWh | +16.8% |
| 2-Season Manual Tilt (23° / 53°) | 23.6 kWh | 12.1 kWh | 6,340 kWh | +23.8% |
| Dual-Axis Motorized Tracker | 28.5 kWh | 13.8 kWh | 7,220 kWh | +41.0% |
[!NOTE] Notice the winter harvest difference between flat (6.4 kWh) and 2-season manual tilt (12.1 kWh). In winter, setting your panels steep almost doubles your daily energy capture (+89%), because low-angle winter sunlight glides right off flat panels without triggering adequate MPPT voltage.
Ground Clearance, Snow Shedding, and Bifacial Gain
When calculating tilt angle for ground-mounted arrays, three physical real-world factors supersede pure math formulas:
- Snow Shedding Velocity: Photovoltaic glass is extremely slick. When tilted at 45 degrees or steeper, snow accumulation slides off spontaneously as soon as internal solar cell heat warms the panel face by even 1°F above freezing. Panels mounted flatter than 25 degrees will remain buried under deep snow packs for weeks unless manually shoveled.
- Ground Clearance (Snow Drift Height): The bottom edge of your tilted panels must sit at least 24 to 36 inches above ground level. If snow piles up at the foot of the array, sliding snow dams against the bottom frame, bridging the lower row of cells and triggering bypass diode shading cutoffs.
- Bifacial Ground Albedo: If you utilize bifacial solar panels, elevating panels 3 to 4 feet off the ground and angling them at 35° to 45° allows ambient reflected light from gravel, concrete, or snow to hit the rear glass, unlocking an automatic 15% to 25% bifacial energy bonus.
Recommended Mounting Hardware and Tilt Kits
To execute seasonal tilt adjustments safely without custom fabrication, these field-tested mounting racks and brackets deliver the structural durability and angle flexibility required:
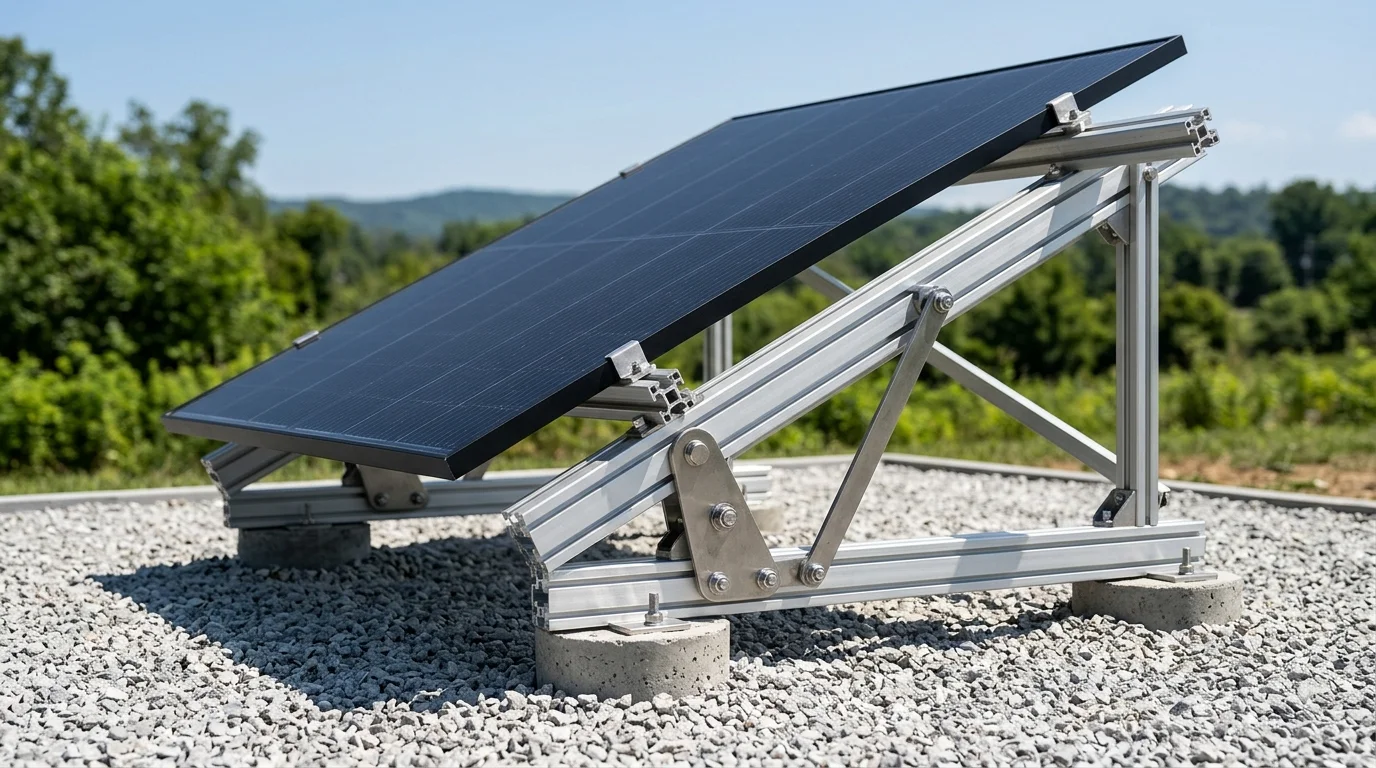
1. Maple Leaf Goose Mount Adjustable Ground Rack
Engineered specifically for DIY ground arrays, the Goose Mount features telescoping structural aluminum legs that allow one person to adjust panel tilt from 15° to 60° in minutes using quick-release locking pins. Built to withstand 110 mph wind loads.
View Maple Leaf Goose Mount on ShopSolar →
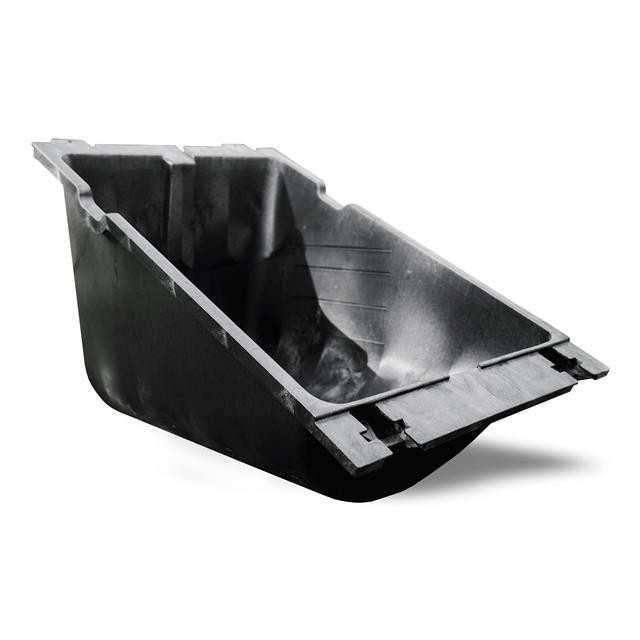
2. Powerfield PowerRack Ballasted Solar Mount
Zero trenching, zero concrete digging, zero ground-screw machinery. Simply set these high-density polyethylene trays on the soil, fill with 250 lbs of gravel or stone ballast, and snap on standard 400W–550W panels at a pre-engineered optimal 25° fixed angle.
Check Powerfield PowerRack on Signature Solar →
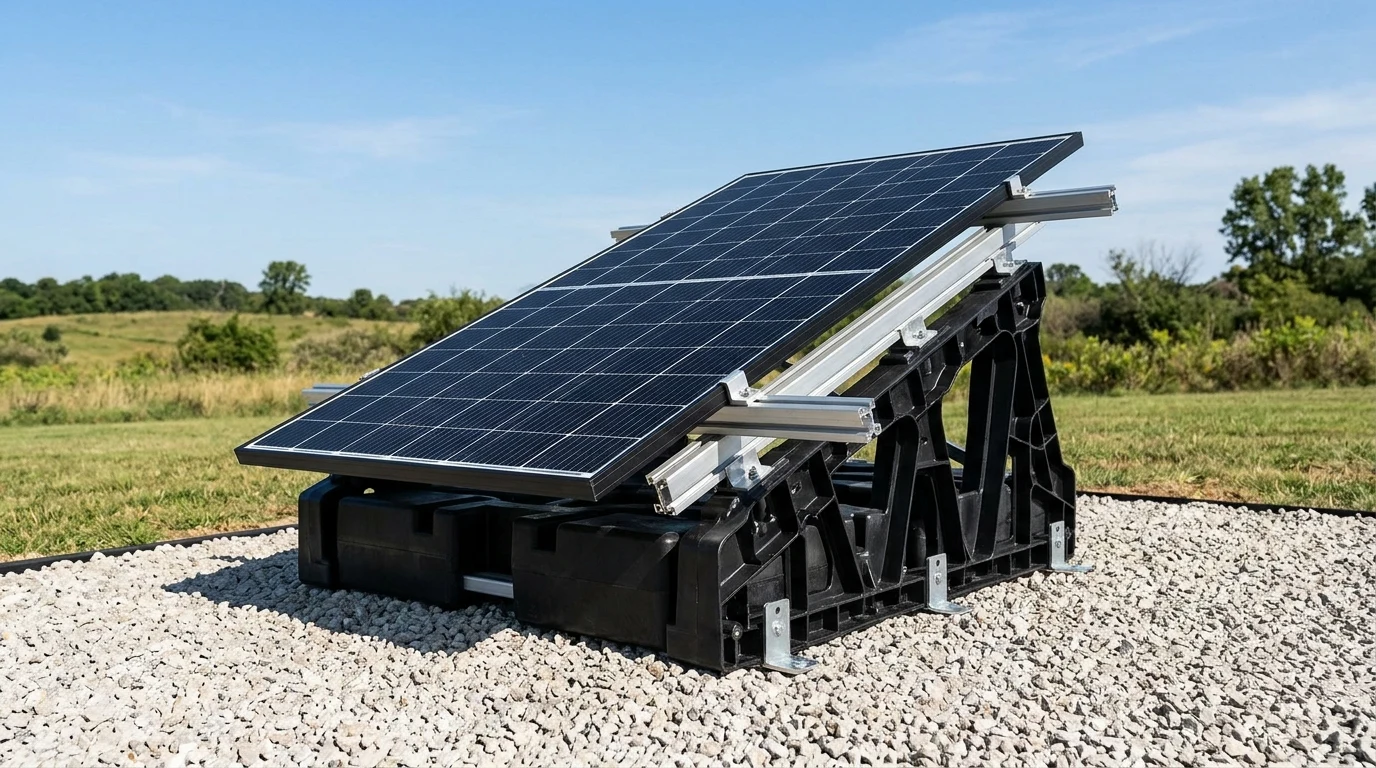
3. IntegraRack IR-50 Ballasted Ground System
When installing on uneven rocky hillsides where traditional ground posts cannot penetrate, IntegraRack’s IR-50 extruded aluminum modular chassis provides ultra-stable 30° to 40° fixed tilt angles with integrated wire-management raceways.
Explore IntegraRack Options on ShopSolar →
4. Rich Solar 200W Monocrystalline Panel
Pairing standard 200W rigid panels with adjustable roof tilt brackets lets RV travelers lay panels flat for highway driving, then prop them up to 45° when parked at campsites to capture an extra 25% daily harvest in shaded or northern environments.
Check Rich Solar Pricing on ShopSolar →
Common Solar Alignment Mistakes to Avoid
- Mounting Panels 100% Flat on Horizontal Roofs: Even if you live in southern latitudes (e.g. Florida or Texas), mounting panels completely flat (0° tilt) is a disaster. Flat panels have zero natural drainage. Rainwater pools in the bottom corners, collecting dust, bird droppings, and pollen that dry into opaque mud rings across the bottom cell string, slashing generation by 30% or more. Always maintain a minimum tilt of at least 10 degrees for self-cleaning rainwater runoff.
- Ignoring Inter-Row Shading on Multi-Row Ground Mounts: When you increase panel tilt to a steep 50 degrees for winter, each row casts a long shadow to the north. If your second and third rows are placed too close behind the front row, the top edge of the front panels will shade the bottom row of the rear panels, triggering bypass diodes and shutting down entire strings. Use the solar altitude angle formula to space rows at least apart.
- Using Magnetic Compass Without Declination Correction: Pointing your array straight south using an uncorrected handheld compass in Maine or Washington State will point your array 15 to 18 degrees off True Solar South. Always check NOAA’s declination map and adjust your compass bearing accordingly.
- Over-Complicating with Single-Axis Motorized Trackers: Motorized single-axis and dual-axis solar trackers look appealing on paper, but in real-world residential and off-grid conditions, they contain moving mechanical gears, actuators, bearings, and anemometers that fail in freezing weather or high wind storms. Because solar panel prices have plummeted below $0.60 per Watt, it is almost always significantly cheaper, more reliable, and maintenance-free to simply buy 20% to 30% more solar panels (known as overpaneling) on a sturdy fixed rack rather than installing complex tracking motors.
Frequently Asked Questions (FAQ)
Does solar panel tilt matter more in the summer or in the winter?
Tilt angle matters far more in winter than in summer. In summer, the sun rides high in the sky across an arc of 14 to 15 hours. Even a poorly tilted panel will absorb abundant diffuse and direct irradiance. In winter, however, the sun stays low on the southern horizon and only shines for 8 to 9 hours. If your panels are mounted flat or at a shallow summer angle, winter sunlight glances off the glass at extreme angles, causing catastrophic cosine and reflection losses. A steep winter tilt (Latitude + 15°) is essential to keep battery systems charged.
Is it worth climbing on my roof to change solar panel tilt seasonally?
For rooftop solar installations, no. Climbing onto a residential roof twice a year introduces major fall hazards and risks damaging roof shingles or waterproof flashing seals. The modest 8% to 12% annual gain from seasonal adjustments rarely justifies the physical danger. Instead, install your rooftop panels flush with the existing roof pitch, or add one or two additional solar panels to offset the fixed angle deficit. Seasonal tilt adjustments are recommended primarily for ground mounts, pole mounts, and easily accessible shed or RV setups.
What direction should solar panels face in the Southern Hemisphere?
In the Southern Hemisphere (e.g. Australia, New Zealand, South Africa, South America), solar panels must face True North, rather than True South. The same latitude formulas apply: tilt at your local latitude for a year-round mount, tilt flatter (Latitude - 15°) during the Southern Hemisphere summer (December to February), and tilt steeper (Latitude + 15°) during winter (June to August).
How do I know if my solar panels are getting dirty from low tilt angles?
If your array is tilted under 15 degrees, inspect the lower aluminum frame edge after a rainfall. If you notice a dark brown or green sediment line pooling along the bottom edge of the glass, the angle is too shallow for gravity-assisted rainwater cleaning. Clean the panels using a soft microfiber brush and deionized water, and consider elevating the rear mounting legs by 5 to 10 degrees to promote natural dirt runoff.