Many tiny home builders and owners start their off-grid journey relying on a temporary 15-amp household extension cord or a small 1,000-watt solar generator.
While a single 15A branch circuit (supplying 1,800 Watts peak) can handle a laptop, LED lighting, and a small 12V cooler, it collapses the moment you try to live like a normal modern household. Run an electric induction skillet while your ductless mini-split kicks on, and the breaker instantly trips.
Upgrading your off-grid tiny home to a standard 30-Amp 120-Volt electrical service (NEMA TT-30 / L5-30) is the undisputed gold standard for mobile and stationary tiny living. It doubles your available power to 3,600 Watts, unlocking simultaneous climate control, refrigeration, hot water, and kitchen appliances.
In this step-by-step engineering guide, we walk you through the complete 30A wiring upgrade for off-grid tiny homes. We cover electrical load calculations, 10 AWG wire selection, subpanel distribution, neutral-ground bonding safety, automatic transfer switches, and solar inverter integration.
15-Amp (120V)
Suitable only for basic lighting, laptops, and a mini-fridge. High-draw appliances (air fryer, microwave, mini-split) cause constant nuisance trips.
30-Amp (120V TT-30)
Runs a 12,000 BTU mini-split heat pump, induction cooktop, Starlink, and refrigerator concurrently. Standard campground and RV hookup compatibility.
50-Amp (120V/240V)
Provides massive power for electric dryers and full-size ovens, but requires heavy 6 AWG 4-conductor cabling and bulky off-grid battery banks.
Sizing the 30-Amp System: Math and Continuous Limits
A 30A 120V service delivers a total mathematical ceiling of:
However, under the National Electrical Code (NEC Article 210.19 / 215.2), continuous loads (any load running continuously for 3 hours or longer, such as an air conditioner or space heater) must not exceed 80% of the circuit’s rated ampacity:
Here is how a balanced 30A tiny home power budget looks in practice:
| Appliance / Circuit | Operating Watts | Continuous Amps (120V) | Branch Circuit Breaker |
|---|---|---|---|
| 12,000 BTU Mini-Split (Cooling/Heating) | 800W – 1,100W | 7.5A – 9.2A | Dedicated 15A Breaker (14 AWG) |
| Full-Size Inverter Refrigerator | 120W – 180W | 1.0A – 1.5A | Dedicated 15A Breaker (14 AWG) |
| Induction Cooktop (Single Burner Medium) | 1,000W – 1,400W | 8.3A – 11.6A | Dedicated 20A Breaker (12 AWG) |
| Starlink, LED Lighting & Laptop Outlets | 120W – 250W | 1.0A – 2.1A | General Living 15A Breaker (14 AWG) |
| Total Simultaneous Operating Load | 2,040W – 2,930W | 17.8A – 24.4A | Main 30A Service Panel (10 AWG) |
Notice how comfortably this total sits under the 30A (24A continuous) ceiling, allowing seamless tiny house living without power management anxiety.
Conductor Sizing: Why 10 AWG Copper is Mandatory
The backbone of your 30A electrical upgrade is the wire connecting your power inlet or off-grid inverter to your main electrical panel:
- 14 AWG Wire: Rated strictly for 15 Amps. Never connect to a 30A supply.
- 12 AWG Wire: Rated strictly for 20 Amps. Drawing 30 Amps through 12 AWG wire causes severe resistive overheating, melting insulation and triggering structural fires.
- 10 AWG Pure Copper Wire: Rated for 30 Amps at 75°C/90°C (NEC Table 310.16).
For the main feeder line running between your external 30A twist-lock inlet box (NEMA L5-30P or TT-30P), your transfer switch, and your interior distribution panel, you must use 10/2 with Ground Romex (NM-B) for interior dry runs or 10 AWG stranded THHN/THWN-2 conductors inside conduit.
The Critical Neutral-to-Ground Bonding Rule
In standard residential electrical construction, the Neutral conductor and the Equipment Grounding Conductor (EGC) are bonded together in the main service panel via a bonding screw or strap.
However, in mobile tiny homes, RV conversions, and off-grid builds that connect interchangeably between solar inverters, generators, and grid shore power, incorrect neutral-ground bonding is the number one life-safety hazard:
The Golden Rule of Electrical Bonding
There must be ONE and ONLY ONE Neutral-to-Ground bond in the entire electrical system at any given moment.
Scenario A: Running on Shore Power
When plugged into a campground, RV park pedestal, or a standard household 30A outlet, the Neutral-to-Ground bond already exists at the utility service panel.
- If your tiny home distribution panel ALSO has a bonding screw installed, you create a dangerous parallel neutral path.
- Return current flows through both the neutral wire and the ground wire, energizing your tiny home’s metal chassis, trailer frame, and appliances with lethal touch voltage!
- The Solution: The interior tiny home panel must always be wired as a subpanel with the neutral and ground buses completely isolated.
Scenario B: Running Off-Grid via Inverter
When disconnected from shore power, your off-grid pure sine wave inverter acts as the “separately derived system.”
- High-quality off-grid inverters (like the EG4 3000EHV, Victron MultiPlus, or EcoFlow systems) feature an internal automatic neutral-ground bonding relay.
- When shore power is disconnected, the inverter automatically engages its internal bonding relay, providing safe ground fault protection. When shore power is connected, the inverter automatically disengages the bond in milliseconds.
Shore-to-Inverter Switching: Automatic vs Manual
To switch safely between your off-grid solar inverter and external grid/generator power, you must never wire both sources together in parallel. Doing so creates catastrophic out-of-phase backfeeding that will vaporize your inverter’s output transistors.
You have two code-compliant methods:
30A Automatic Transfer Switch (ATS)
An ATS (such as a Progressive Dynamics or Go Power! 30A unit) continuously monitors the incoming AC shore line. When you plug into a generator or campground pedestal, the switch automatically engages utility power in under 20 milliseconds, shifting loads off the battery inverter. When unplugged, it silently reverts back to solar battery power.
Manual Interlock Subpanel
A manual transfer switch or mechanical sliding interlock bracket ensures that the Shore Power main breaker and the Inverter main breaker can never be switched ON at the same time. This is an ultra-reliable, mechanical solution that cannot suffer relay failure.
Step-by-Step 30A Tiny Home Wiring Sequence
Follow this systematic sequence to complete your 30A electrical upgrade:
Install the 30A Exterior Power Inlet Box
Mount an outdoor-rated, weather-resistant NEMA L5-30P (twist-lock) or NEMA TT-30P inlet box on the exterior utility wall of your tiny home. Use waterproof silicone sealant and stainless screws to prevent water ingress.
Run 10 AWG Copper Feeder to the Transfer Switch
Run 10/2 with ground copper cabling from the exterior inlet box to your transfer switch location. Strip conductors cleanly and torque all terminal lugs to manufacturer specification (typically 20 to 25 inch-pounds) using an insulated torque screwdriver.
Mount the 6-to-8 Space Main Distribution Panel
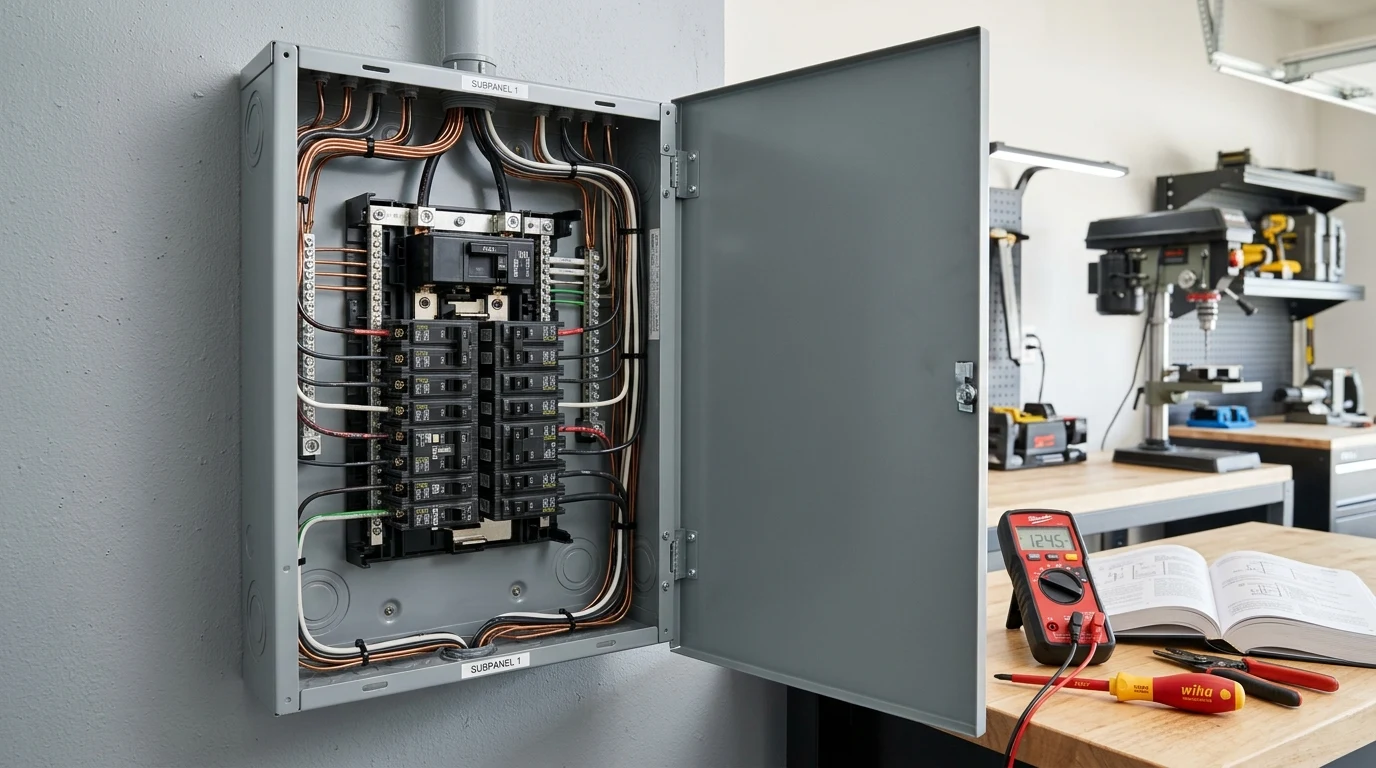
Install a compact main breaker panel (such as a Square D Homeline or Siemens 6-space subpanel).
- Install a 30-Amp 120V single-pole main breaker to protect the entire panel.
- Ensure the green bonding screw is REMOVED so the neutral bus bar floats completely separate from the grounded equipment bus bar.
Wire Dedicated Branch Circuits
Distribute electrical circuits to your appliances using properly sized branch wiring:
- Circuit 1 (15A, 14 AWG): Mini-Split Heat Pump
- Circuit 2 (20A, 12 AWG): Kitchen GFCI Outlets (Induction skillet, toaster)
- Circuit 3 (15A, 14 AWG): Refrigerator & Dedicated Food Preservation
- Circuit 4 (15A, 14 AWG): Bathroom GFCI & Water Pump
- Circuit 5 (15A, 14 AWG): General Living Outlets & Starlink
Connect the 48V Off-Grid Inverter
Feed the AC output of your 48V pure sine wave inverter (minimum 3,000W continuous) into the inverter input lugs of your transfer switch using 10 AWG copper wire. Verify that your inverter’s chassis ground lug is bonded to the tiny home’s grounding bus bar with 8 AWG bare copper wire.
Top Recommended 30A Hardware Stack
To ensure bulletproof reliability and complete safety, we recommend the following components for your tiny home electrical overhaul:
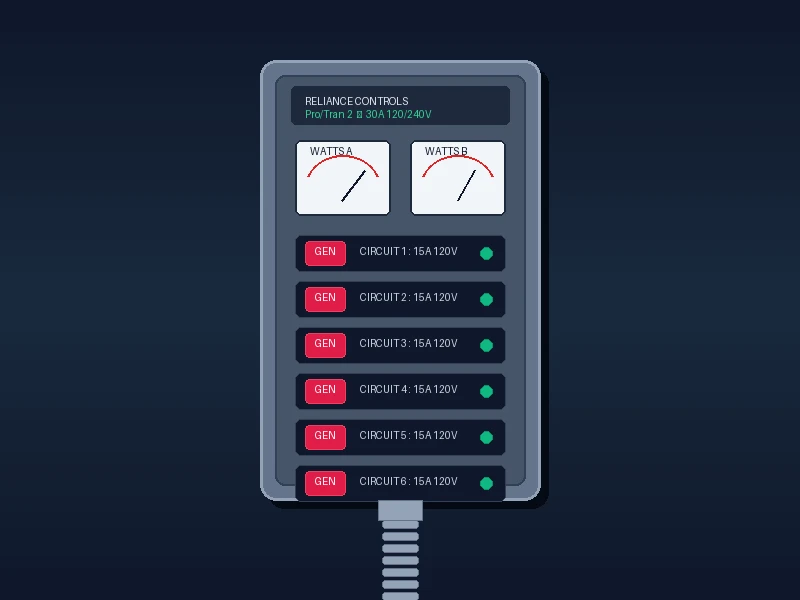
Reliance Controls 30A Manual Transfer Switch
NEMA L5-30 • Pre-Wired • 6-Circuit Indoor Panel
- Completely eliminates dangerous backfeeding between solar inverter and grid
- Dual wattage meters monitor real-time tiny house energy consumption
- Pre-wired flexible conduit whip allows simple 1-hour DIY installation
Check Best Price on Amazon →
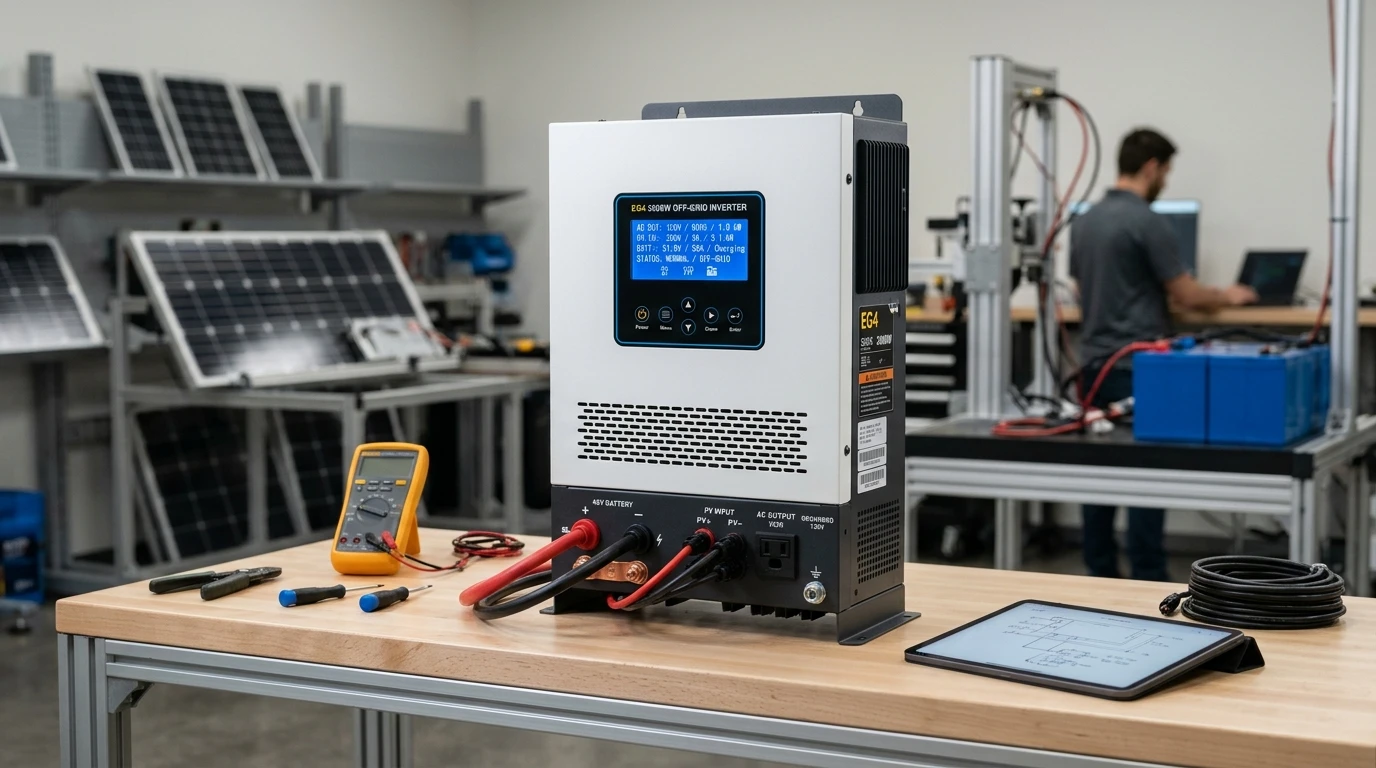
EG4 3000EHV-48 All-In-One
3,000W 120V Output • 5,000W MPPT Solar Charger
- Direct 120V 25A–30A continuous output powers entire subpanel natively
- Built-in 500V high-voltage MPPT accepts compact roof or ground solar arrays
- Internal smart neutral-ground bonding relay for code-compliant mobile safety
Check Best Price on Signature Solar →
Detailed Hardware Reviews: 30A Tiny Home Picks
1. Reliance Controls Pro/Tran 2 (30A Manual Transfer Switch)
For tiny home builders who want complete physical control over circuit switching, the Reliance Controls 30A Pro/Tran 2 is unmatched.
It installs directly adjacent to your distribution panel and provides six individual toggle switches (Off, Line, Gen/Inverter). This allows you to selectively power high-priority circuits (refrigerator, lights, internet) from your off-grid battery inverter while leaving heavy heating loads switched off. The integrated analog wattmeters provide instant visual feedback on how much power your tiny home is pulling in real time.
2. EG4 3000EHV-48 All-in-One Off-Grid Inverter
The EG4 3000EHV-48 is arguably the most cost-effective all-in-one power unit ever built for tiny homes.
Operating on a clean 48V battery bus, it combines a 3,000W pure sine wave inverter, an 80A MPPT solar charge controller, and a high-speed AC battery charger into a single wall-hung unit. Its continuous 3,000W AC output matches the 30A tiny home subpanel perfectly, running mini-split air conditioners and kitchen appliances with whisper-quiet efficiency.
Common 30A Tiny Home Wiring Mistakes to Avoid
- Undersizing the Feeder Wire to 12 AWG: Never run 12 AWG wire on a 30A breaker. 12 AWG wire is rated for a maximum of 20 Amps. Pushing 30 Amps creates intense resistive heat that can ignite wood framing.
- Leaving the Neutral-Ground Bond Screw in the Subpanel: Tiny house distribution panels must operate with floating neutrals. Leaving the bonding screw installed creates hazardous chassis ground loops when connected to shore power.
- Skipping GFCI Outlets Near Sinks: Kitchen and bathroom receptacles must be GFCI-protected (NEC 210.8). In compact tiny houses where water sources are within arms-reach of outlets, GFCI breakers or receptacles prevent fatal shock hazards.
- Neglecting Strain Relief on Panel Knockouts: Road vibration in mobile tiny homes will quickly wear through wire insulation on sharp metal knockout edges. Always install listed NM clamp connectors on all cable entries.
- Backfeeding Shore Power Directly into Inverters: Never wire an inverter output directly into an energized shore power line. Always use a mechanically interlocked transfer switch or listed automatic transfer switch (ATS).
Frequently Asked Questions (FAQ)
Can I run a 30A tiny home from a standard 15A household outlet?
Yes, using a heavy-duty 15A Male to 30A Female dogbone adapter. However, your available power will be strictly capped at 1,800 Watts (15 Amps). You can easily charge your off-grid batteries and run lighting, but you must avoid running your mini-split heat pump and induction stove simultaneously.
What is the difference between a NEMA TT-30 and NEMA L5-30 plug?
A NEMA TT-30 is a 3-prong straight-blade 120V 30-amp connector used almost universally at RV parks and campgrounds. A NEMA L5-30 is a 3-prong twist-lock 120V 30-amp connector frequently used on industrial generators and marine shore power. Both carry identical 120V 30A current; twist-lock connectors simply prevent accidental disconnection caused by pets or wind.
What size battery bank do I need for a 30A off-grid tiny home?
To sustain a 30A tiny home comfortably through cloudy days, we recommend a 48V 200Ah to 300Ah LiFePO4 battery bank (10 kWh to 15 kWh). A 10kWh bank delivers approximately 1.5 to 2 full days of off-grid living, easily powering a mini-split, refrigerator, LED lighting, and laptops.
Does a tiny home require a ground rod if it is mounted on wheels?
When parked permanently or semi-permanently, driving a dedicated 8-foot copper ground rod bonded to the trailer chassis with 6 AWG copper wire provides essential static discharge and lightning surge protection. When mobile or plugged into shore power, the grounding conductor in your 30A shore power cord connects your chassis safely to the park’s grounding electrode system.