The single most common mistake made by homeowners, DIY off-grid builders, and RV travelers is buying solar panels before knowing their true electrical load. Someone sees a discount on a 400W solar panel or a 1,000W pallet, purchases it on impulse, and then wonders why their batteries sit half-empty after running an air conditioner or refrigerator for two days.
Solar engineering requires working in reverse: you must size from the electrical load backward to the solar panels.
Your appliances dictate how many kilowatt-hours you consume each day. That daily consumption dictates how large your battery bank must be to survive the night. Your battery bank and regional sunlight dictate how many watts of photovoltaic panels you must install to recharge those batteries before sunset.
If you undersize your array, your batteries will suffer chronic partial state of charge (PSOC), triggering low-voltage inverter cutoffs and spoiling food. If you oversize without planning, you waste money on solar wattage that your charge controller simply clips and discards.
In this first-principles engineering guide, we walk you through the exact mathematical equations, derating factors, and component-matching rules required to size a solar array perfectly for your cabin, home backup system, or mobile rig.
To size your solar array accurately: tally your daily appliance Watt-Hours, divide by 0.75 (multiplying by 1.33) to account for inverter tare loss, battery round-trip resistance, and wire voltage drops, then divide by your regional Winter Peak Sun Hours (typically 3.0 to 3.5 PSH). For a standard 3.5kWh/day off-grid cabin load, you need a minimum of 1,600W to 2,000W of solar panels (four to five 400W–455W modules) to guarantee energy independence.
Calculate Sizing & Appliance Runtime →
The 4-Step Solar Sizing Workflow
Follow this logical sequence to size any photovoltaic installation, from a 200W camper van setup to a 15kW whole-home off-grid microgrid:
Daily Energy Audit
Tally every device’s continuous wattage multiplied by daily operating hours to find total daily Watt-Hours ().
Apply System Losses
Divide by 0.75 to factor in inverter efficiency, standby tare loss, battery resistance, and wire voltage drops.
Divide by Peak Sun
Divide target daily energy by your regional winter Peak Sun Hours (PSH) to find minimum required array wattage.
Select & Match Panels
Divide total array wattage by module nameplate (e.g. 450W), verify MPPT voltage/current headroom, and round up.
Step 1: Conducting a First-Principles Energy Audit
To calculate how much solar power you need, you must first calculate how much electricity you consume over a 24-hour cycle.
Electricity consumption is measured in Watt-Hours (Wh) or Kilowatt-Hours ():
Here is a typical daily load audit for an off-grid cabin or residential essential-backup circuit:
| Appliance / Electrical Load | Operating Draw (Watts) | Daily Duty Cycle (Hours) | Daily Energy Consumed (Wh) |
|---|---|---|---|
| Full-Size Refrigerator (Inverter Compressor) | 60W (Average duty) | 24.0 Hours | 1,440 Wh |
| Starlink Standard Dish + Wi-Fi Router | 45 Watts | 24.0 Hours | 1,080 Wh |
| LED Lighting (6 Fixtures @ 8W each) | 48 Watts | 5.0 Hours | 240 Wh |
| Laptops & Mobile Device Charging | 90 Watts | 4.0 Hours | 360 Wh |
| Shallow Well Jet Pump / Water Pressure Pump | 750 Watts | 0.6 Hours (36 min) | 450 Wh |
| Net Daily Consumption Total: | 3,570 Wh (3.57 kWh) | ||
Step 2: Applying the 25% System Derating Factor
A critical trap that ensnares beginners is assuming that every Watt of solar power generated enters their batteries with 100% efficiency. In real-world electrical systems, energy is dissipated across four distinct conversion stages:
- Inverter Efficiency (): Inverters consume energy converting 48V DC into 120V AC power.
- Inverter Tare Loss (Standby Consumption): Even when zero appliances are running, a 3,000W to 6,000W split-phase inverter consumes 35W to 55W continuously just powering its internal microprocessor and cooling fans. Over 24 hours, that idle draw consumes !
- Battery Round-Trip Coulombic Efficiency ( for LiFePO4): Storing electrical energy chemically and discharging it later incurs a 5% thermal resistance loss.
- Wiring & Connection Voltage Drop (): Resistive heating () across PV cables and battery interconnects.
To reliably consume 3,570 Wh of appliance power at your wall outlets, your solar array must actually harvest 4,760 Wh of raw energy from the sun every day.
Step 3: Peak Sun Hours (PSH) vs. Daylight Hours
One of the most misunderstood concepts in renewable energy is the difference between Daylight Hours and Peak Sun Hours (PSH):
- Daylight Hours: The total time between sunrise and sunset (often 12 to 15 hours in summer, and 8 to 10 hours in winter). During early morning and late afternoon, the sun strikes at a steep angle through thick atmosphere, producing very low irradiance ( to ).
- Peak Sun Hours (PSH): The cumulative equivalent number of hours where solar irradiance equals full laboratory Standard Test Conditions ():
| Geographic Zone / Region | Summer Peak Sun Hours | Winter Peak Sun Hours | Design Recommendation |
|---|---|---|---|
| US Desert Southwest (AZ, NV, Southern CA) | 6.5 – 7.2 PSH | 4.5 – 5.2 PSH | Year-round high solar yield; modest winter oversizing required. |
| US Central / Midwest (TX, CO, MO, IL) | 5.2 – 6.0 PSH | 3.2 – 3.8 PSH | Size array based on 3.5 PSH to survive cloudy winter weeks. |
| US Northeast & Pacific NW (WA, OR, NY, ME) | 4.5 – 5.2 PSH | 2.2 – 2.8 PSH | Severe winter cloud cover; steep 55° tilt and 150% overpaneling mandatory. |
[!IMPORTANT] The Golden Off-Grid Rule: Always size your off-grid solar array using Winter Peak Sun Hours, not summer averages! If you size for 6.0 summer sun hours, your system will suffer brownouts in December and January when sunlight drops to 3.0 PSH.
Step 4: Sizing the Solar Array & Module Count
Now that we have our required daily energy target () and our conservative winter solar window (), calculating minimum array wattage is straightforward:
To account for morning dust, high operating cell temperatures (), and aging degradation, add a 15% safety buffer:
Calculating the Number of Physical Panels
Choose a commercial tier-1 module wattage (e.g. 450W N-type TOPCon panels):
Rounding up to an even string count yields:
An 1,800W array operating in a 3.5 PSH winter climate produces an estimated per day—perfectly covering our 3,570 Wh load with safety margin to spare.
Matching Array Voltage to Your MPPT Charge Controller
Determining total wattage is only half the equation; you must wire those modules so their voltage and current match your MPPT charge controller:
MPPT Voltage Headroom & Cold-Weather Safety
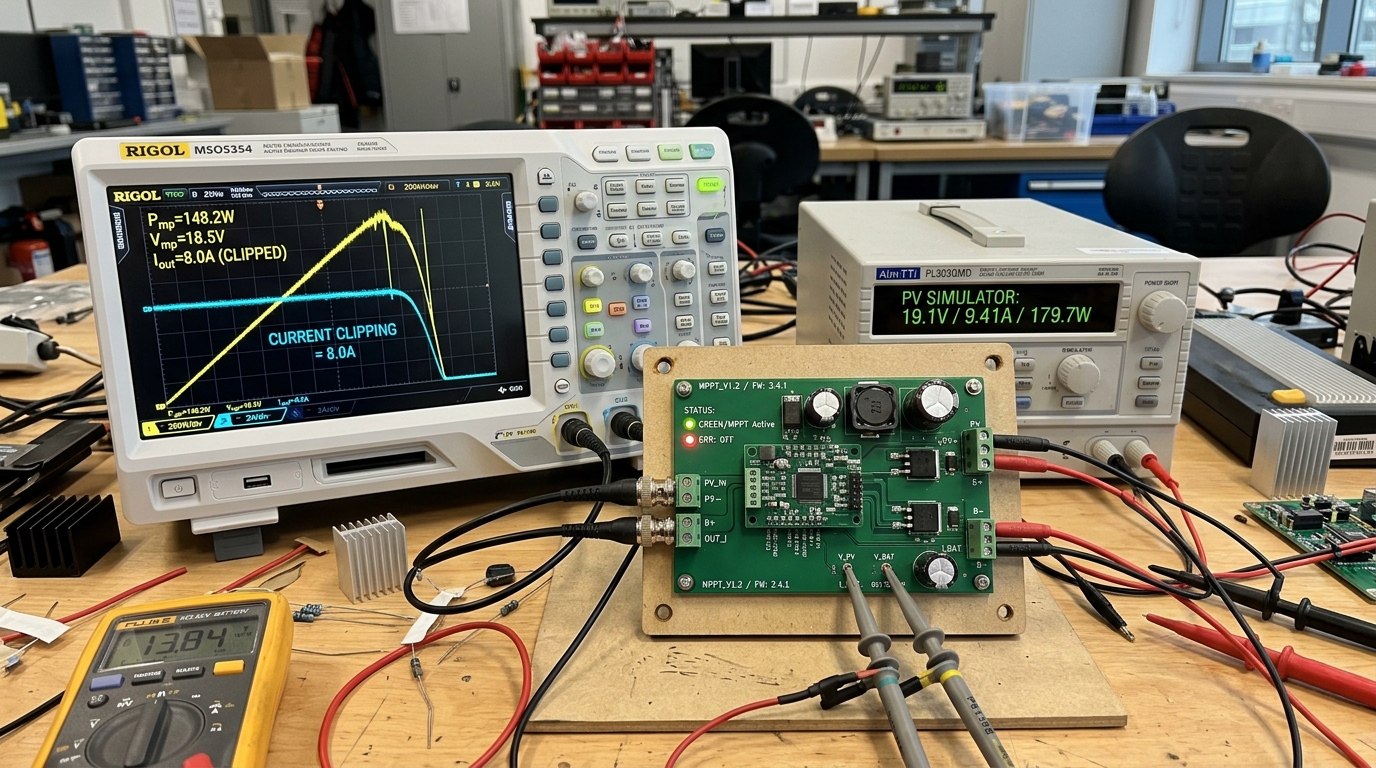
- Maximum Open-Circuit Voltage (): As proven in semiconductor physics, silicon voltage spikes in freezing winter weather. Never wire panels in series such that cold-temperature exceeds your MPPT controller’s maximum rating (e.g. 150V, 250V, or 500V DC). Use our VOC Temperature Sizing Calculator to verify cold safety.
- Minimum Startup Voltage: Your series string voltage must stay comfortably above the charge controller’s minimum startup voltage (typically 5V to 15V above battery voltage) even during dark overcast weather.
- Maximum Charging Current: Divide your array wattage by battery voltage () to verify your charge controller can handle the current: A standard 40A or 60A 48V MPPT charge controller handles this array effortlessly.
Top Recommended Solar Panels & Sized System Packages
When configuring a properly sized solar system, these four hardware options represent the most reliable and cost-effective solutions tested in our laboratory:
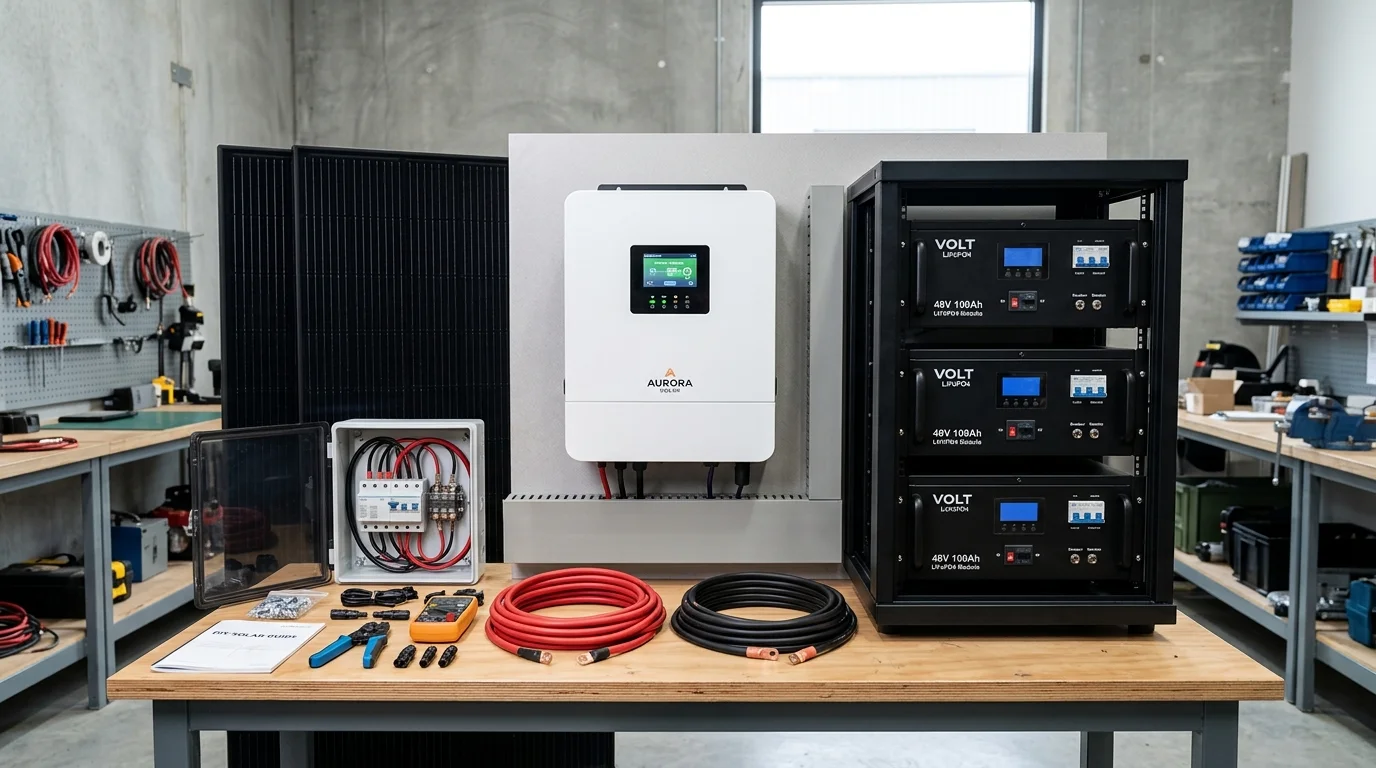
1. ShopSolar Pre-Sized 48V Off-Grid Solar Kits
Eliminates the complexity of manual electrical sizing. Pre-engineered packages match high-efficiency bifacial panels to hybrid split-phase inverters, dual MPPT charge controllers, and 48V server rack lithium batteries with perfectly matched wire gauges.
Explore Pre-Sized Solar Kits on ShopSolar →

2. Aiko Neostar 2S+ 455W All-Black TOPCon
When roof area is limited, maximum cell efficiency is mandatory. With a 23.6% module efficiency and All-Back Contact (ABC) architecture, the Neostar 2S+ generates 15% more kilowatt-hours per square foot than standard commodity panels.
Check Aiko Neostar Sizing on Signature Solar →

3. Canadian Solar BiHiKu7 660W Dual-Glass Bifacial
Allows you to reach large array targets with fewer structural mounting posts and foundation footings. A 6-panel array delivers nearly 4,000W STC front power and up to 5,000W with rear ground albedo reflection on gravel or snow.
Check Pallet Ground Mount Deals →
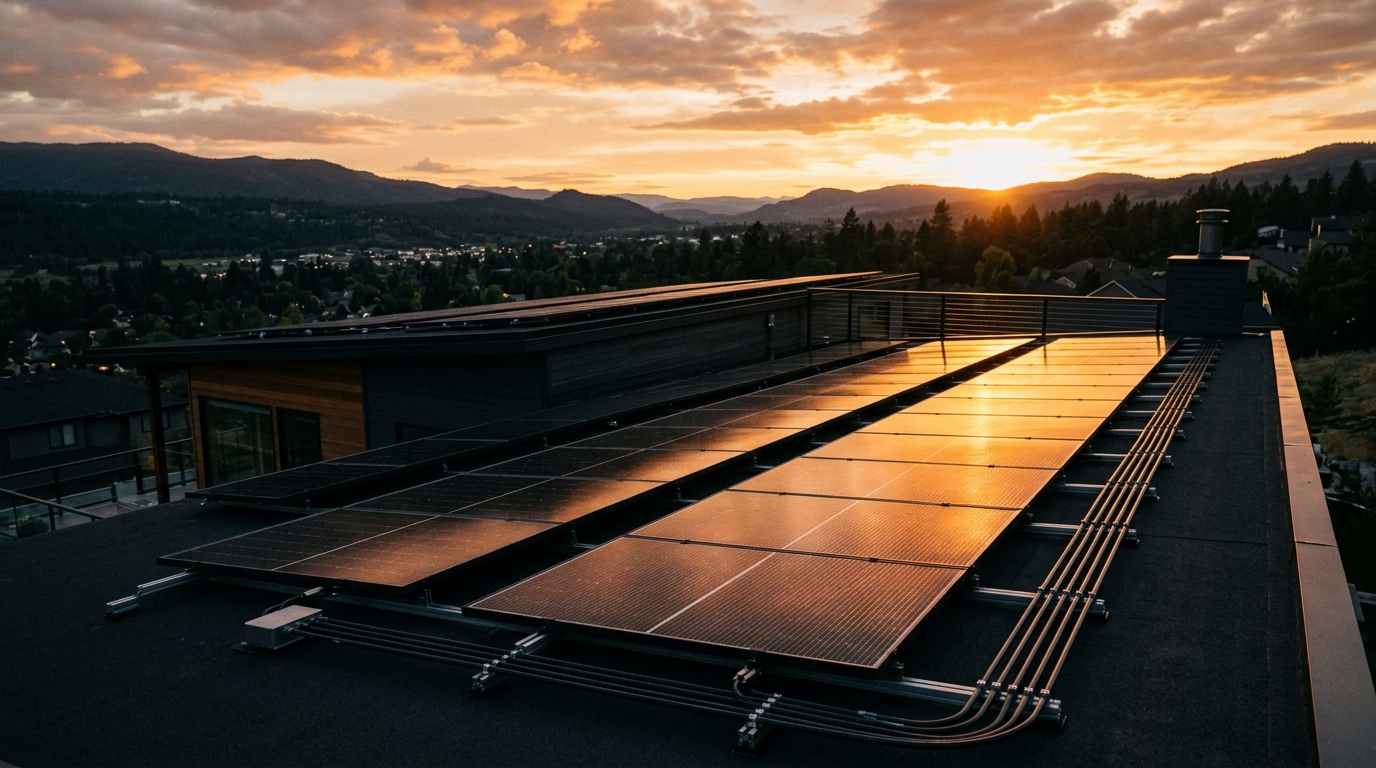
4. Rich Solar 200W Monocrystalline 12V/24V
Perfect for camper vans, hunting cabins, and modular battery maintainers where 65-lb commercial panels are too cumbersome. Compact dimensions make it easy to scale array wattage in 200W increments as power needs expand.
View Rich Solar Pricing on ShopSolar →
4 Costly Sizing Mistakes to Avoid
Avoid these four common sizing blunders that waste money or leave systems chronically underpowered:
- Sizing Based on Summer Peak Sun Hours: Sizing your array using a 6.0 PSH summer metric guarantees winter failure. When December rolls around and solar irradiance drops to 2.8 PSH, your daily power generation will be sliced in half, forcing you to run noisy, expensive gasoline backup generators. Always design around your location’s lowest winter solar month.
- Ignoring Inverter Standby Tare Loss: Homeowners frequently size their solar array to cover only their refrigerator and lights, completely forgetting that a 48V pure sine wave inverter consumes 35W to 55W 24 hours a day just remaining energized. Over 24 hours, that tare loss drains over 1,000 Wh—requiring an extra 300W of dedicated solar panels just to keep the inverter running!
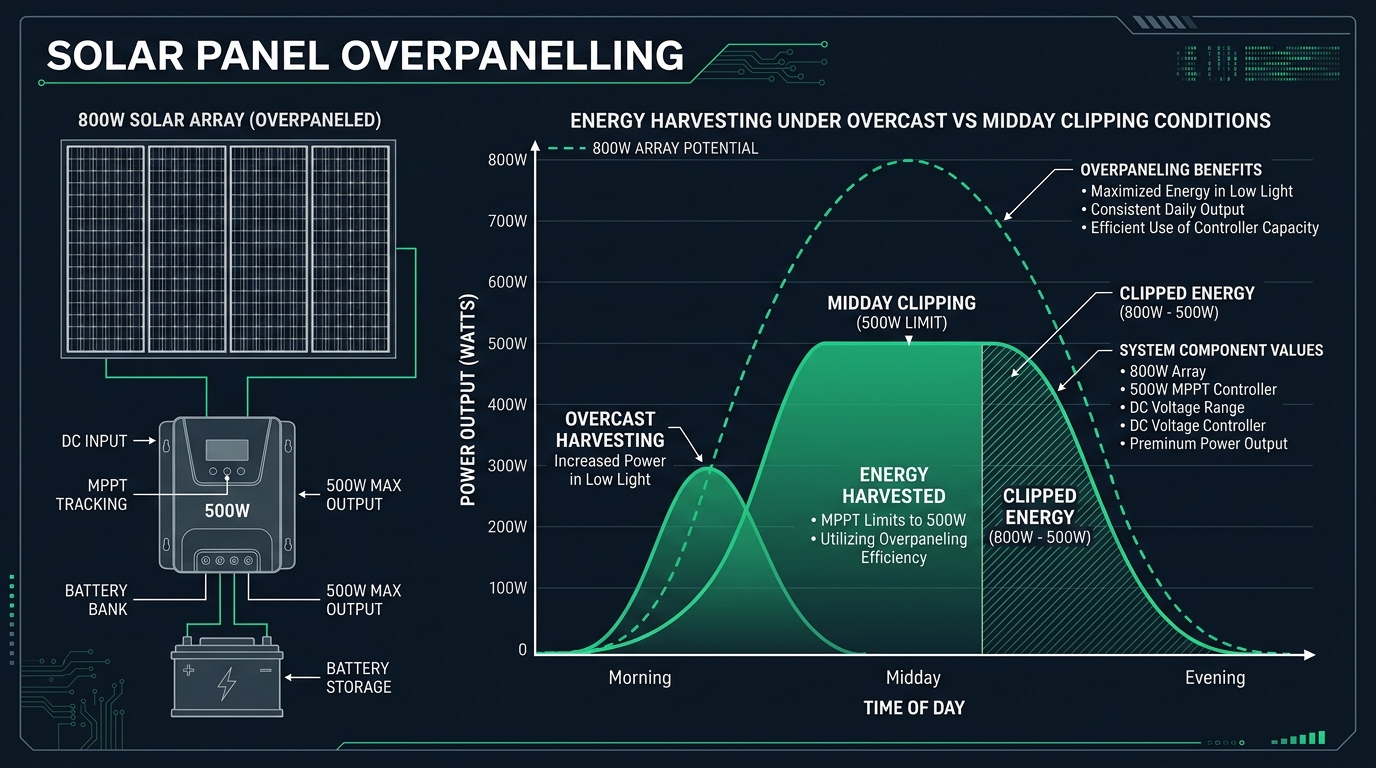
- Mismatched Battery Charging Velocity (-Rate): Sizing a huge 20kWh battery bank with only 800W of solar panels means you can never fully recharge your batteries. Under real-world conditions, an 800W array produces only 2.5kWh to 3kWh per day—leaving an empty 20kWh battery starved for power for over a week. Aim for an array wattage that can recharge at least 50% to 70% of your usable battery bank capacity in a single sunny day.
- Exceeding MPPT Cold-Temperature Open-Circuit Voltage (): When wiring panels in series, remember that open-circuit voltage spikes in freezing weather. Sizing long series strings that sit right at your MPPT controller’s maximum limit (e.g. 145V on a 150V controller) will fry the controller’s input MOSFETs on the very first sub-zero winter morning.
Frequently Asked Questions (FAQ)
How many solar panels do I need to run a refrigerator?
A modern residential Energy Star refrigerator consumes between 1,200 Wh and 1,800 Wh per day (averaging 50W to 75W of cycling compressor draw). Factoring in 25% inverter and battery conversion losses and an average of 4.0 Peak Sun Hours, you need two 400W to 455W solar panels (800W to 900W total array) and a 2kWh lithium battery bank to run the refrigerator continuously through cloudy weather.
Can a solar array be too big for an MPPT charge controller?
Yes and no. You can safely “overpanel” the wattage of your array by 120% to 140% of the controller’s nominal rating, because an MPPT controller will simply current-clip any excess power above its maximum output limit without harm. However, you must never exceed the maximum input voltage () rating of the charge controller. Excess voltage will destroy the controller instantly, whereas excess current/wattage is safely ignored.
How do I calculate how many Peak Sun Hours my location receives?
You can look up your exact geographic coordinates on free meteorological databases such as the NREL PVWatts Calculator or the Global Solar Atlas. These tools provide monthly averages of daily Peak Sun Hours (kWh/m²/day) at various array tilt angles. Use the lowest winter month (typically December in the northern hemisphere) as your baseline for off-grid system sizing.
What is the difference between series and parallel panel sizing?
Wiring panels in series adds their voltages together () while keeping current constant (). Wiring panels in parallel keeps voltage constant () while adding their currents together (). Series wiring allows thinner, cheaper copper cabling over long distances, but requires verifying that total cold string voltage never exceeds your MPPT charge controller’s limit.